Guidelines for successfully using the Deadman Earth Anchor in the ground

We've been using the Deadman as a Ground Hugger™ (e.g. ground anchor) for many years now, so we KNOW it works. But it wasn't always like that... we learned the hard way, through trial and error, how to effectively use the Deadman in various recovery scenarios. Along the way, we also learned how to screw things up. We love our customers, so we figured it might be nice if we shared with you what we've learned, so you don't have to make the same mistakes! "Sharing is caring!"
In this video, we explain how to use the Deadman in the ground as a Ground Anchor. Many thanks to our friends at Krazy Beaver Tools and Pitbull Motor Toyz for helping us record it!
Testing Maximum Capacity in Dune Sand
We set out to see how much capacity the Deadman would deliver in the shifting sand dunes of Pismo Beach, CA. We nearly ripped the bumper of of the truck (seriously) in the process, topping out at 8,050lb before giving up - the anchor never moved. Regardless, when we were finished, we pulled it out by a single corner with no more digging. FTW!
Instructions
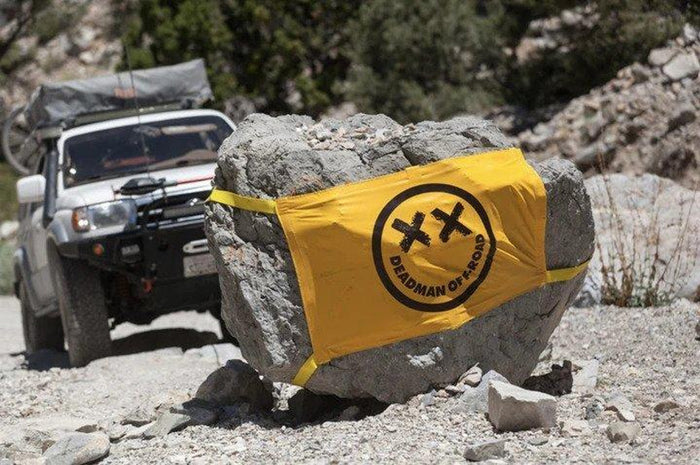
 For use as a ground anchor, bury the Deadman. Don’t worry, he won’t mind - notice he’s smiling! Place his grave far enough away from the vehicle to allow room for recovery and a shallow pull angle. The walls of his grave should be vertical - the face wall plays an important role in the physics that allow the Deadman to work.
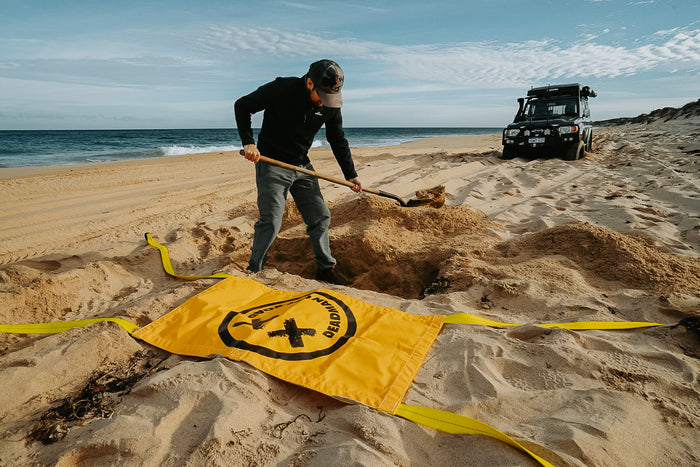
 For best results, bury the Deadman face up. Keep his arms and legs out of the hole, but ensure the corners of his face lay flat on the hole floor. Orient him so he’s perpendicular to the vehicle being recovered.
 The minimum recommended depth is 2 feet. Soil density plays a role in the Deadman’s capacity at any given depth. In soft soil (e.g. sand) a deeper hole is advised. Conversely, a slightly shallower hole may suffice in hardpack. For reference, 24” in soft sand should yield ~2500lb capacity, while 18” in hardpack might yield the same or more capacity.
 If more capacity is needed, simply bury the Deadman deeper -- challenge accepted! His capacity is non-linear: whereas a 24” hole may yield ~2500lb, a 36” hole may yield > 6000lb in the same soil.
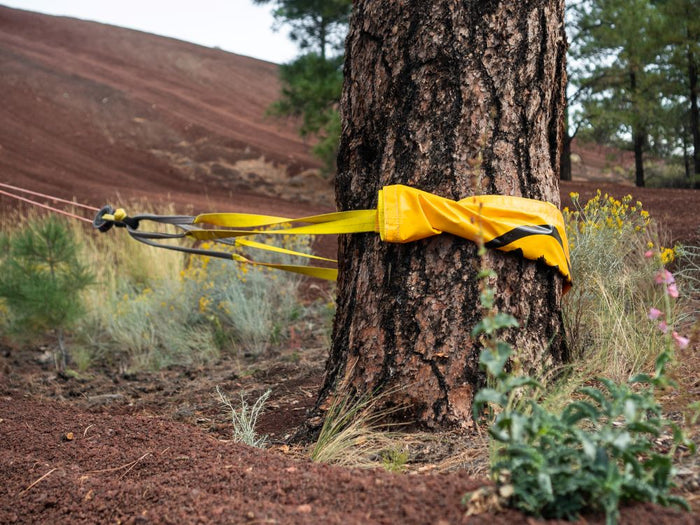
 Once buried, link his feet (forward loops) to the winch, and his hands (rear loops) to the flat secondary loops on his feet (see photo above). While soft shackles make this process more convenient, metal shackles may also be used. Do not use the secondary loops for any other purpose.
 For most recoveries, using the Deadman in conjunction with controlled, light throttle will deliver the best results, lessening the likelihood of your winch pulling him out of his grave prematurely. Use safe winching practices.
 After recovery, unhook all but one hand or foot and pull the Deadman from his hole with the winch or vehicle bumper. The dirt should remain in the hole; please ensure no large holes or piles remain for the next adventurer. Tread lightly.